
 How many of your students own a digital camera? Is a digital camera a toy or a tool? If your students own a cell phone, is it equipped with a camera? Teachers should welcome the digital camera as a learning tool. Time to hop in the way back machine… remember when pictures were taken with film cartridges, sent to the photo lab, and half the printed photos were rejects after waiting a week? OK, fair enough you can still use film and receive your photos in an hour. My fascination with photography began in 1983 while attending Frisbee Middle School in Kittery, Maine as an 8th grader, when I learned the entire film processing workflow. Snap, develop, and print.
Understanding the true wonders of film photography can only be experienced by breaking a film canister open in a darkroom, rolling the film onto a spool, inserting the spool into a canister, and then turning the lights on to add developer. Pay attention to the time now — rinse, and then the moment of truth… unfurl your negative. 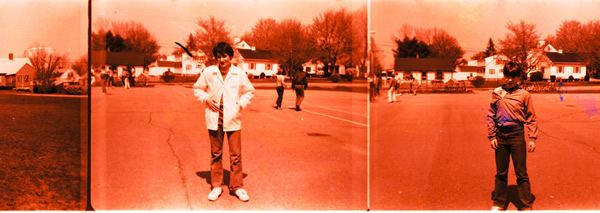 If you are successful, you can immediately see the negative image of your shots. Once the negative is dry, cut into workable strips, and then the fun really begins. Turn the overhead lights off, turn on the funky darkroom light, and insert your negative into an enlarger. Open the baffle to shine light through the negative and adjust the focus. Close the baffle, align a piece of photographic paper on the base of the enlarger, open baffle — timings everything – let’s try 10 seconds. No picture yet… immerse the paper in developer solution rocking the tray back and forth and watch as the ghostly image appears. Another chemical bath, rinse, and it’s off to the drying rack.
While this was quite a time consuming process, each step provided ample opportunity to make adjustments by carefully monitoring each step. For example, if I shot in bright sunlight, I would leave my negative in developer for additional 15 seconds. The extra time would result in more silver depositing onto the negative increasing contrast. The real artistry entered the process at the enlarger, masking parts of the photographic paper burned in sections of the image resulting in greater contrast. The benefits to abandoning this somewhat ancient process to the digital domain is two-fold, (1) elimination of toxic chemicals into the environment and (2) increased time devoted to creativity and innovation. Students can now spend time in the virtual darkroom using desktop programs such as Adobe Photoshop or its Web 2.0 cousin, Express to perfect their images.
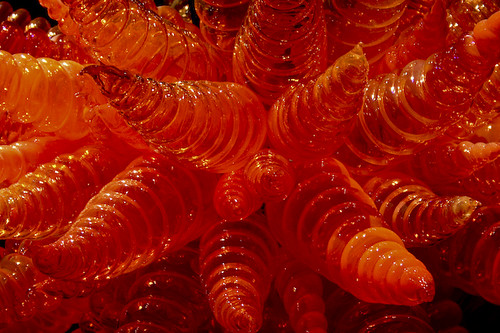 For the last year, I’ve used Flickr to post my images to the web. Each image has a unique web address (URL) that can be used to insert a link to the image. The image to the right was taken at the Chihuly exhibit at the de Young museum in San Francisco. The image is stored on my Flickr site and a placeholder is created on this Edublogs post that says, go fill this rectangle with whatever sits at the end of the link provided. Here’s the link as a web address.